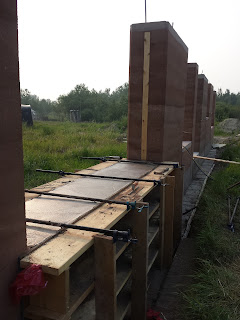
Air nailing the mitres
Time for rebar
And insulation, the 2x4s are notched to hold the insulation while the material is thrown in.
Everything looks good. Better have some breakfast.
Charged and ready :)
Wet the base a little bit,
The non-colored first few lifts
Hand tamped, after the pneumatic tamper.
Some rebar, and more insulation. Now we get get to put some color in.
Blowing the joint out for the next sheet of form Plywood
Notice the double boards, to support the joint.
As you go the electrical conduit gets guided to the centre to the foam. So it's not in the way on the cap.
Lunch break,
Coming along, 4 feet to go
Adding just enough insulation to reach the cap.
There all done, sorry for the lack of pictures, but I was beat.
We have seen heaps of water bombers and military choppers as the forest fires are crazy right now
Cap turned out nice, not that anyone will see it, lol
So begins the take down, make sure All the screws are removed from the electrical boxes and any other bling.
It's the best part, to slowly expose the wall.
:)
Seams look good.
Electrical boxes look good too.
Definitely happy with the seams.
And that concludes this wall. Sweetness


